
 It is unseasonably warm in my neck of the woods. Nevertheless, somewhere, someone could us a baby cap.
I thought that a tie dyed cap would be cute. If you are going to tie dye the t-shirt, go ahead and do that first. Last week, I posted the tutorial on how to tie dye.

Cut the sleeve of a t-shirt off.

Turn sleeve inside out and cut the seam edge off, so that the t-shirt is a square shape. Before cutting the edge make sure sleeve fits on babies head. If it needs to be smaller, then mark it, and make your cut further over.

Stitch the cut edge. Set aside.
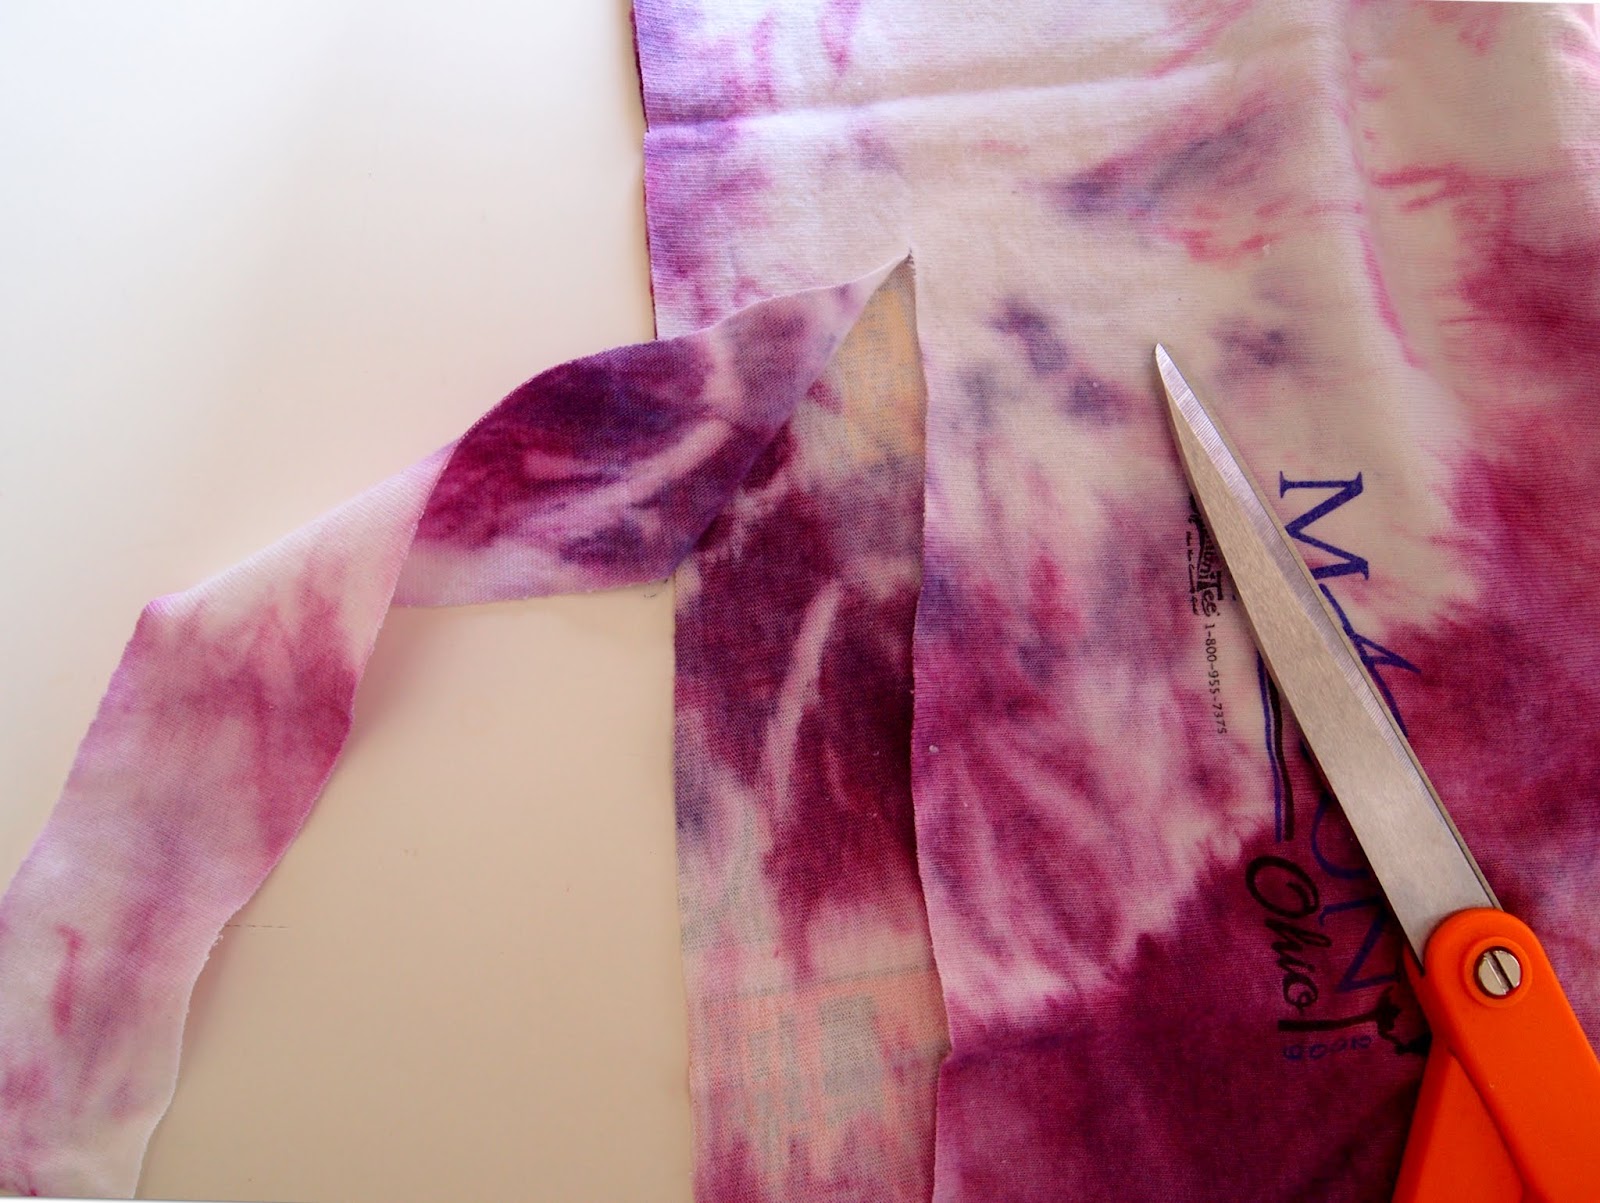

Cut a strip of t-shirt about 1/4" wide and 12" long. Stretch the strip so the edges will coil together.
Okay, this is the best part....a video! I made a video on how to tie a Monkey's fist knot. I think I spent about a week obsessed with decorative knots. So, I will include many more knots in the future.

With material still inside out, place the free end of the knot inside the center of the material. You can adjust the knot to the length that you would like. The pin indicates where the free end of the knot should be placed. Stitch the knot to the center of the material. Only stitch about 1/4" long over the free end of the knot, leaving the rest of the top open.

Gather the opposite edges into the center and pin.

Pinning in the center created four pleats. Pin each pleat separately.
Now, sew each pleat closed, rounding the stitch to fit the head. You will have to sew four edges.


Clip off the excess seams and turn right side out.
Va la! Cute and simple.

This hat could be adapted for an adult by adjusting the size of the t-shirt that you use.


If you have a suggestion for future tutorials let me know. Happy creating.


No comments:
Post a Comment