
 What can you make with a pillowcase? The easiest apron ever.
materials: old pillow case, any color
material for pocket, and 2 ties
Press pillow case and then turn inside out.

Hold the pillow case up to you and decide where you would like the waist ties, then mark the spot. The bottom of the apron will be the open end of the pillowcase.
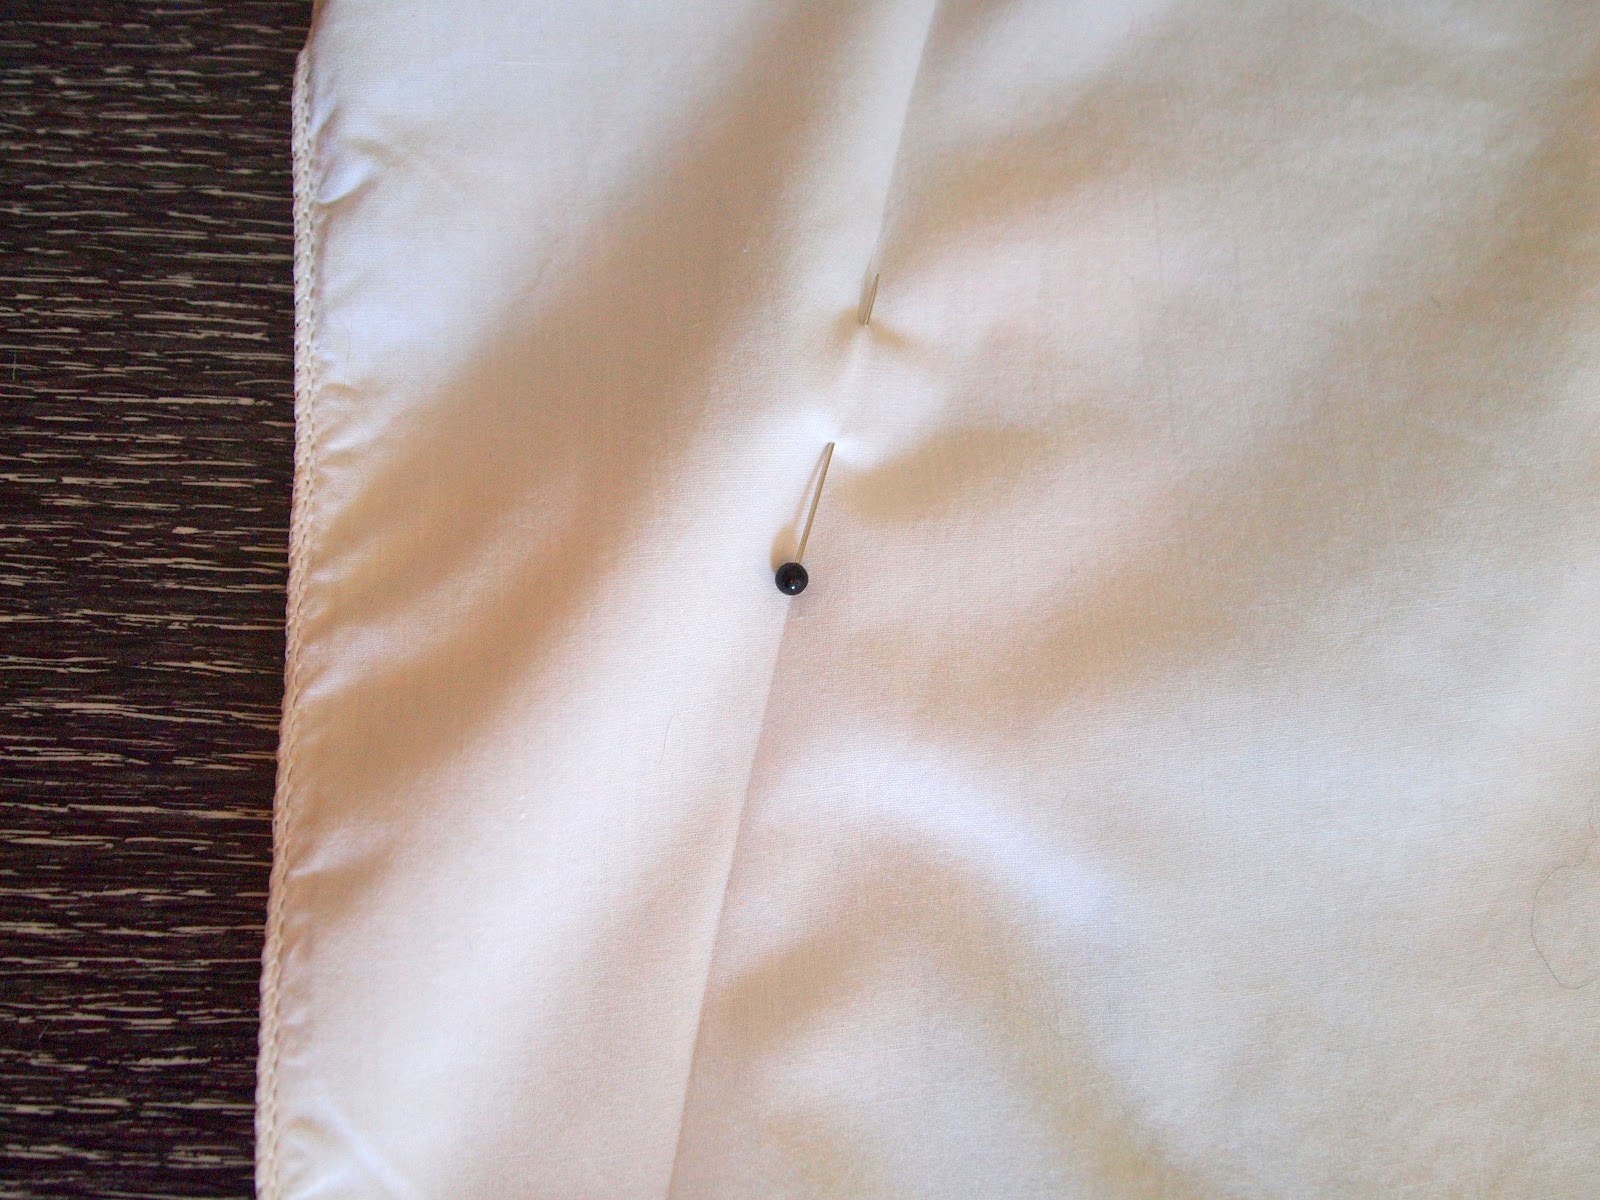
Fold over the edges above the tie placement marking. This will be the top of the apron.

Press the folds to create a crease. Top stitch across the crease. Cut off the excess material and turn pillow case right side out.

Cut out 2 pocket pieces 8" x 9". Pin right sides together, stitch together top, sides and bottom, leaving a 3" gap. Pull through to right side facing. Step by step pocket tutorial.

Pin pocket on the top portion of apron. Stitch across the 2 sides and bottom of pocket, leaving the top of the pocket open. **Note** Have fun with pocket placement and size, or make multiple small pockets. You are the designer.

Cut out a neck tie measuring 2" x 50". Fold the edges over and press. Apron Tie tutorial
Find center of tie then attach to the top of the apron. Stitch with a zigzag stitch or another decorative stitch across the top of the apron. Continue stitching the edges of the tie with a top stitch.

Cut out a waist tie measuring 3" x 50". Fold over the edges and press just as you did with the neck tie. Top stitch across all edges of the waist tie then attached tie to the front of the apron.

Pin tie to apron and the top stitch the tie onto the apron. That is it. Be creative and add the embellishments you would like.....ruffles, applique, buttons, etc.


No comments:
Post a Comment