Showing posts with label re-purpose. Show all posts

Sunday, November 18, 2012

Always a bridesmaid or not


Another fun re-purpose.........

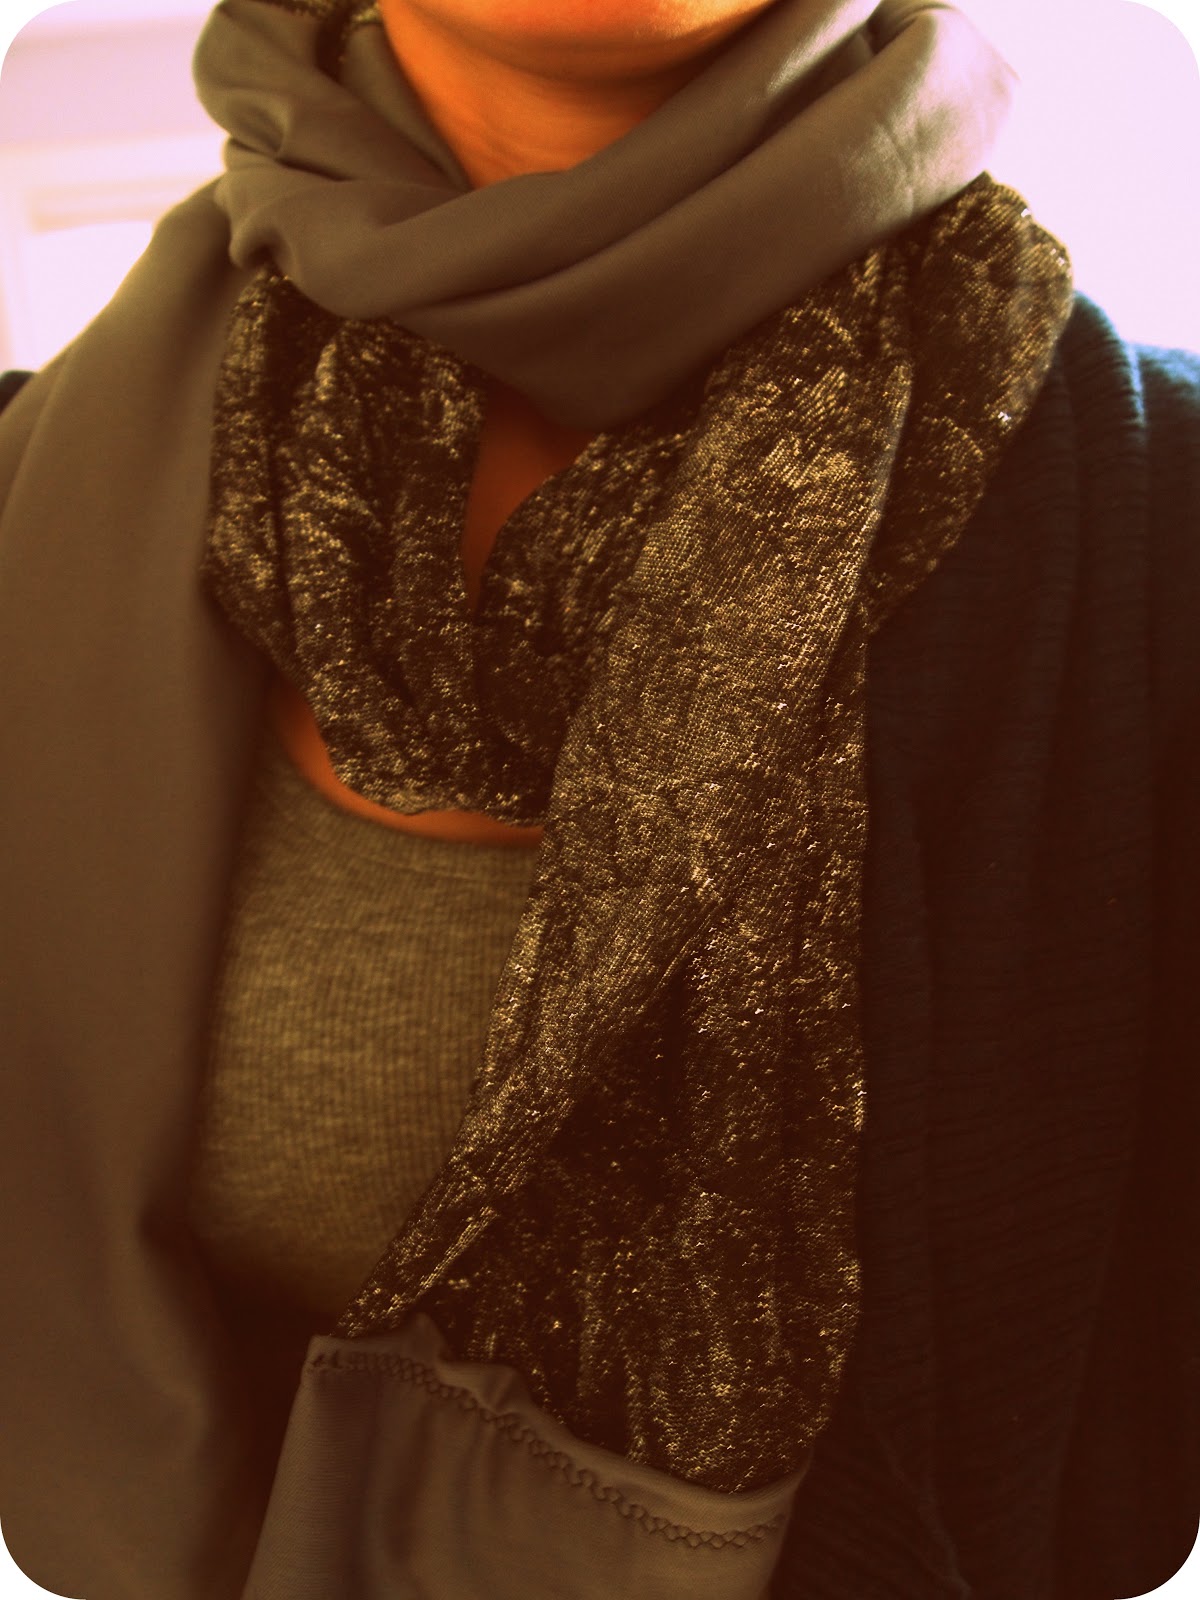
Subject: a sparkly bridesmaid dress, never to be worn again.


Conclusion: a sparkly infinity scarf to be worn again and again!


This scarf and many other cool items will be available at the City Flea's Wrapped Up Holiday Market December 8th

Tuesday, May 15, 2012

Cork board

 A couple of months ago, I bought some cork pieces and mounted them on the wall. I used the double sided tape that came with the cork pieces, bad idea. All of the cork fell off of the wall within the first week. 


This is what my wall looked like after the cork fell. Now, I have to peel all the tape off the wall. Not a fun job. I decided today that I was going to do something with the cork. So today's tutorial will be a cork board re-purpose.


Materials:   Cork squares (available a craft stores or just use the ones that fall off of your wall.)
wooden frame (I found this frame in pieces in my basement)
spray paint
shelf liner (Another basement find. The liner is from large metal storing shelves.)


Tools:  glue gun
hobby knife
newspaper


The frame was in pieces, so I had to put it back together with some glue.


I just added glue in the creases, as shown below.


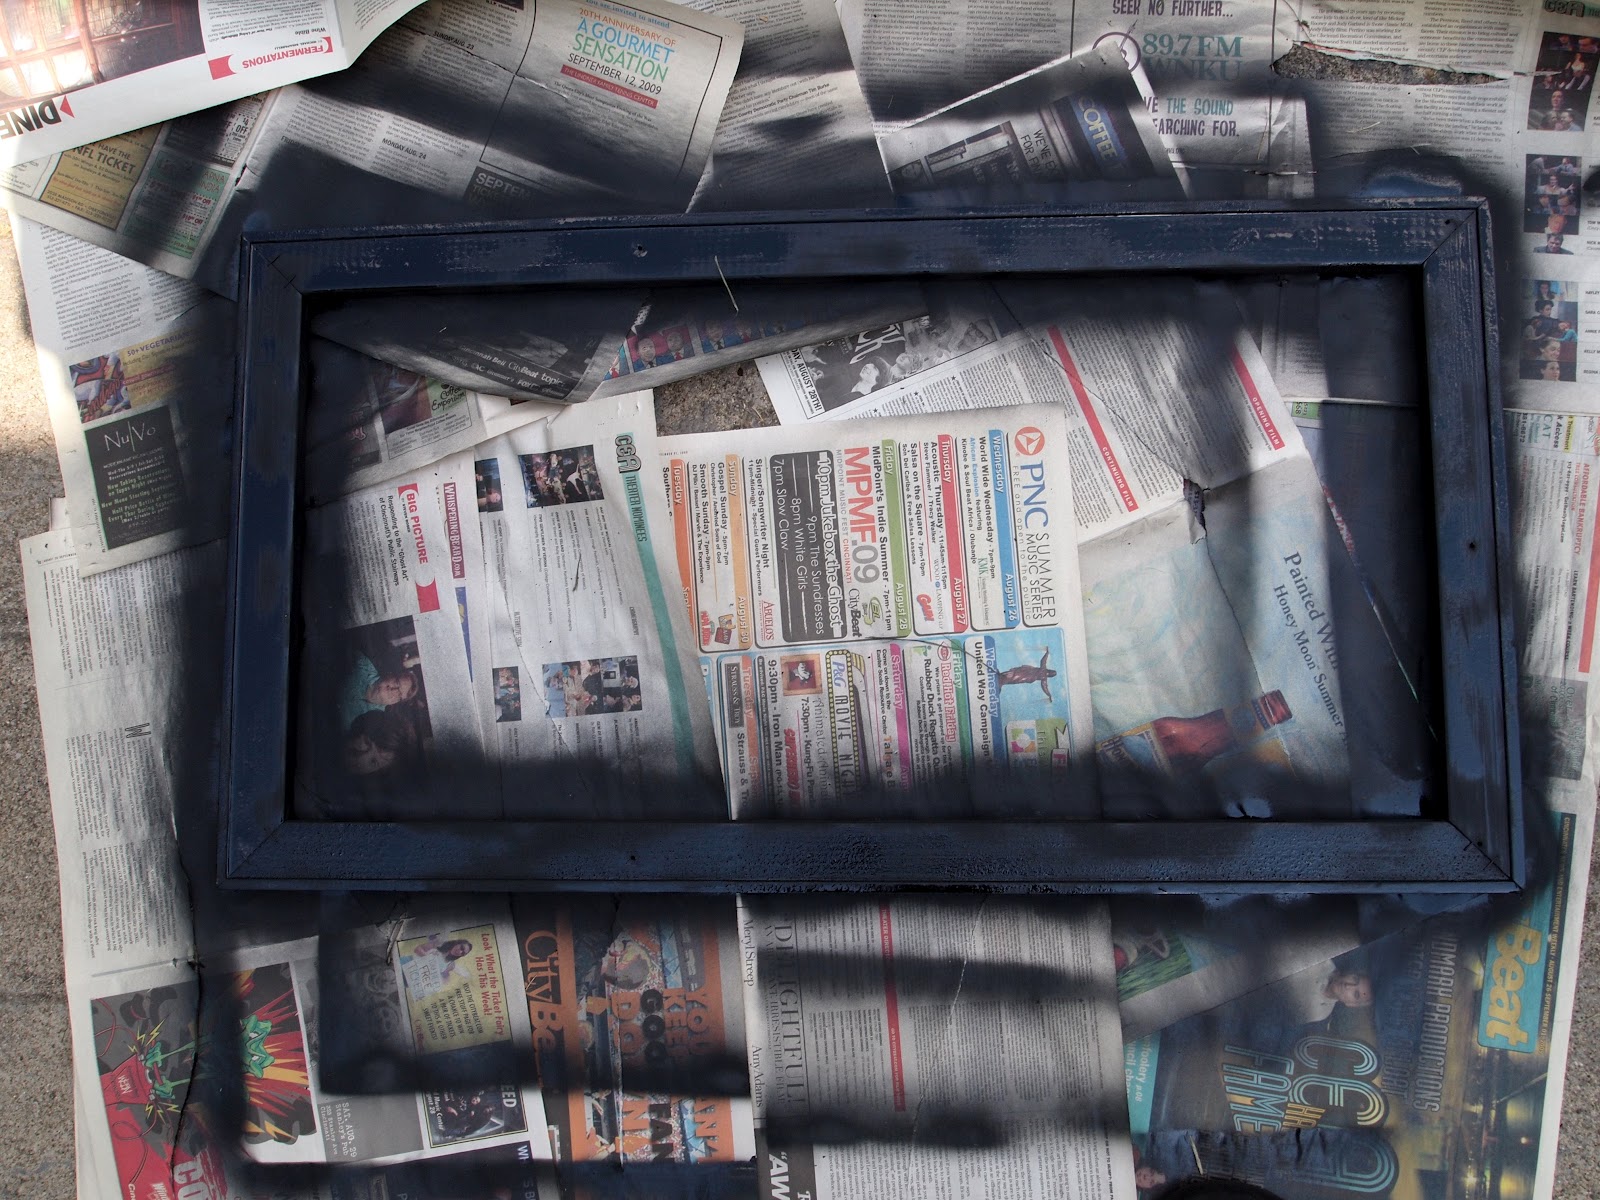
Then I spray painted the frame. I let the frame dry for awhile in the sun while I hunted for something to mount the cork on. 


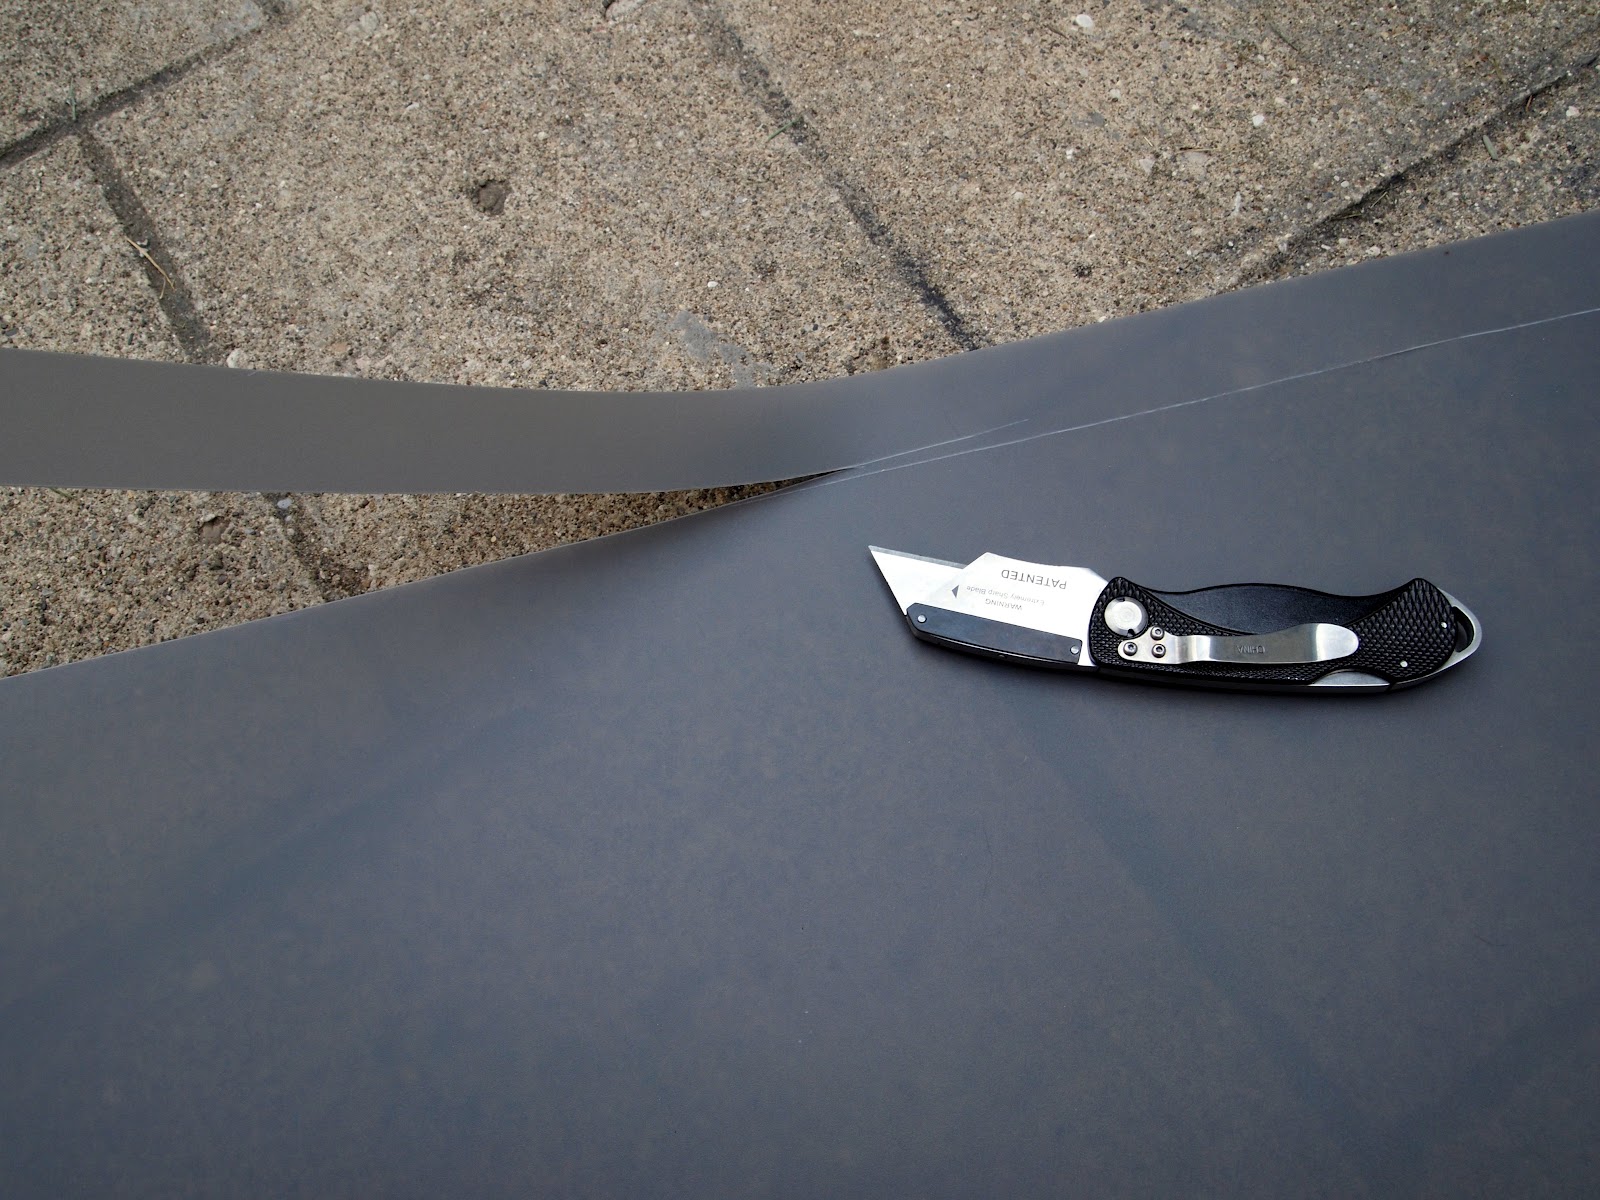
I measured the liner to fit the wooden frame, then cut off the excess plastic with a hobby knife.


I applied glue down the sides, top and bottom of the plastic and then pressed it onto the back of the frame.


After the backing was secure,  I added glue on the back side of the cork. I placed the cork directly onto the plastic.


I could fit two pieces of cork inside the frame with a little of the plastic showing on the sides.


The fun thing about this project was that I got to go shopping in my own basement. I found things that were just sitting there collecting dust and found a new purpose for them. So take my guidelines, and create your own unique cork board!


Now the hard part, mounting it on the wall.


Tuesday, May 8, 2012

T-shirt blanket

T-shirt material is a pretty amazing material. It is soft, stretchy, and looks good with raw edges.  I think that is why it works well for re-purposing. Here is my take on the t-shirt blanket.
Materials: lots of old t-shirts


Cut off the bottom and side seams of t-shirt (some t-shirts don't have a seam on the side), then cut across the top. You will have a square of material. The material pieces will be different sizes depending on the size of the shirt. 


Repeat this process until you have enough square/rectangles to make a blanket about 4'x5' or what ever size you would like.


Start by pinning together a couple of pieces in a row measuring about 4' long. Sew together. Do not worry if the pieces are different sizes, we will fix that later. I ended up with about 5 long rows of material. 


Lay each row flat and cut off any excess material, so the rows will be the same width. Do this on each of the rows.


This is what it looks like after cutting off the excess material. They should be just long strips of material.


I had a couple of rows that were wider than I liked, so I cut them in half to create some smaller rows. That is why there are seven rows in this picture.
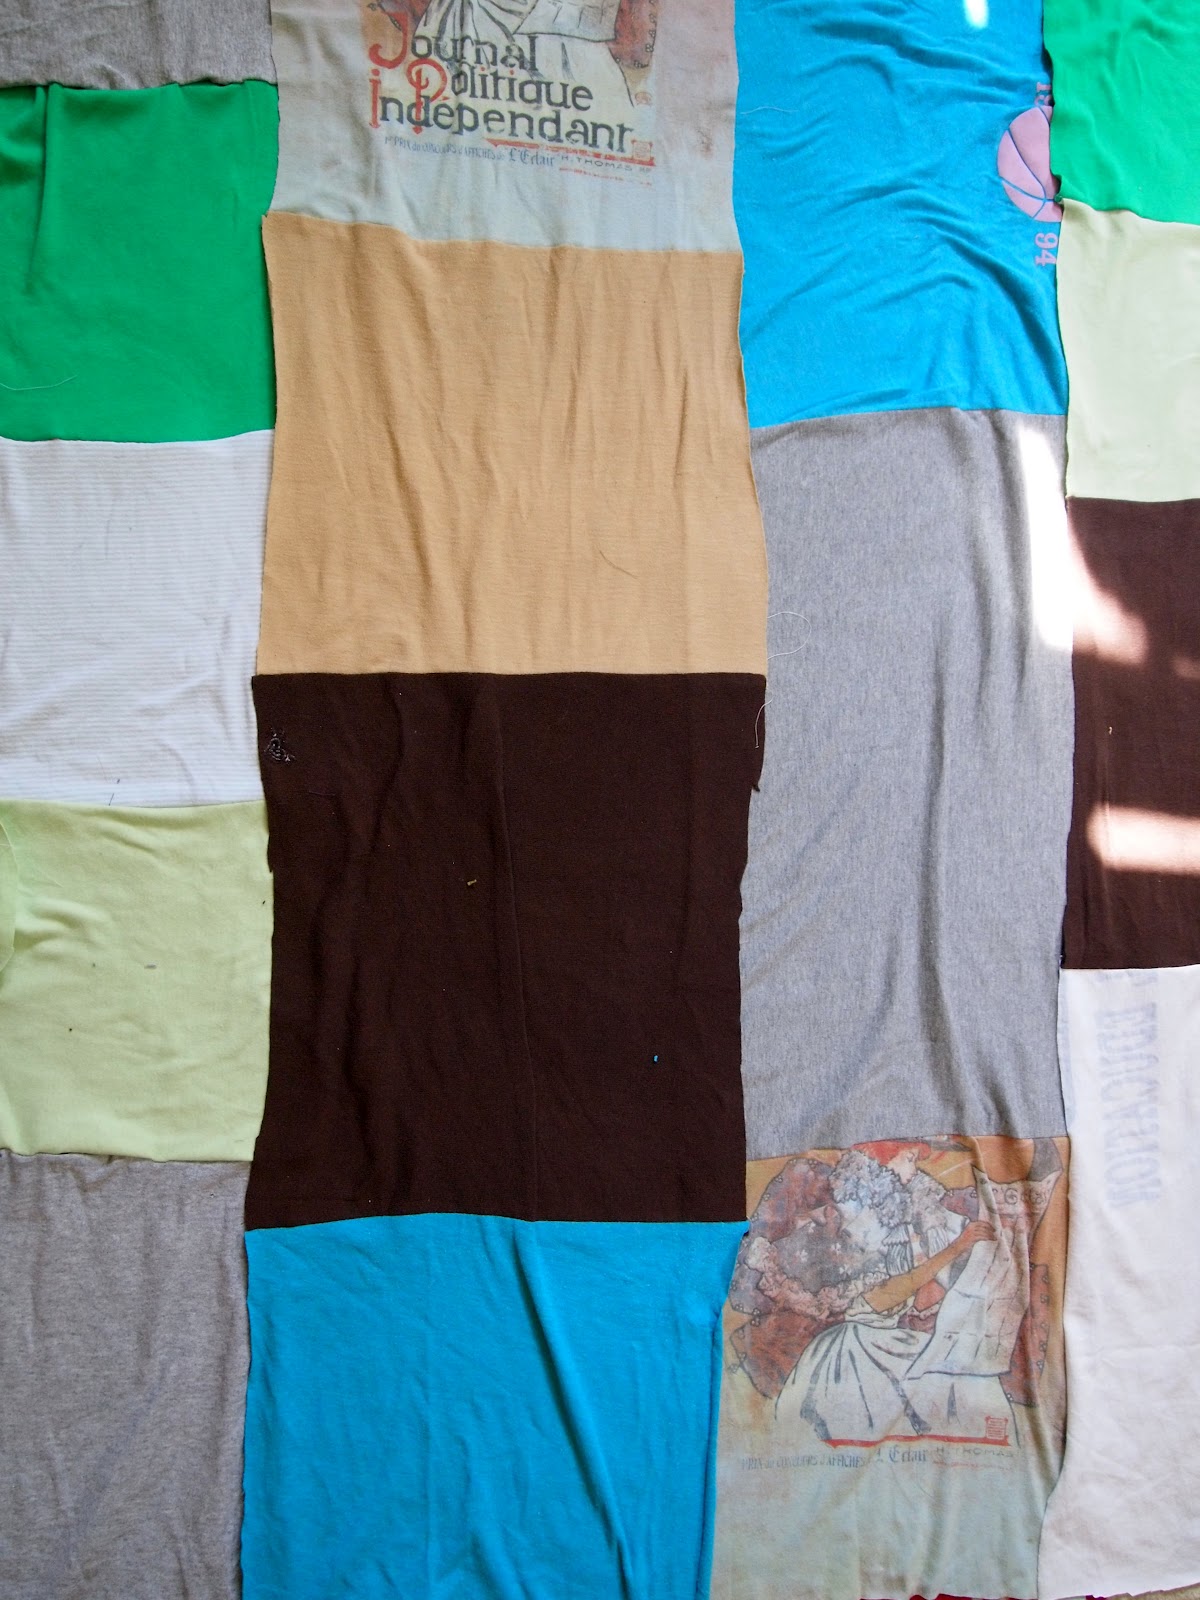
Piece the rows together by over lapping the material and pinning. Sew them together. Now you have a blanket. 


Tito seems so thrilled about the blanket.


Tuesday, March 13, 2012

First Tutorial Tuesday

Lots of hair on this baby!
I have a baby with crazy hair. I am constantly pushing the hair out of his face. I am not ready to cut his hair, so the solution is a hair band.


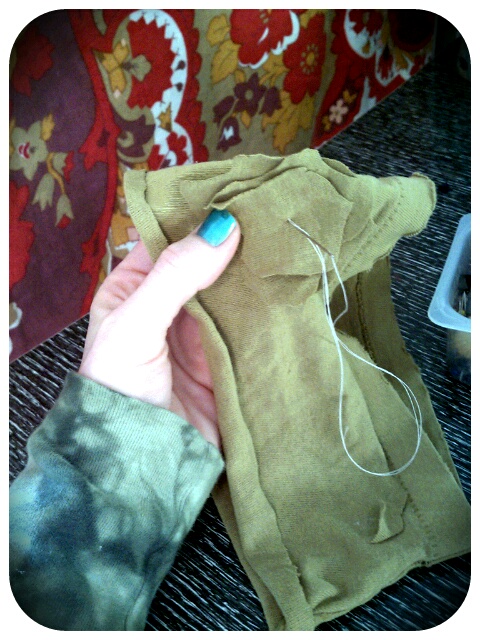
Cut the sleeve of a small t-shirt off at desired thickness. You can adjust the size of the band after cutting. I wanted the hair band to be rugged, so I did not hem the edges, but that is an option. I used a t-shirt that was very worn. In some of the pictures you can see the jagged edges.
Try the band on the babies head and see if it fits. If you need to make it smaller just use you fingers to pinch the amount that needs to be hemmed, pin it, and then stitch across the band.

Add embellishments of your choice, but do not add anything that the baby could choke on. I cut out some t-shirt flower petals and sewed them on the side. My little one is a boy, so maybe I should have cut out some fire trucks for his hair band. Maybe next time.
Hand stitch the flowers on the band.
Noah says, "This is the way dude's with long hair wear their hair bands."
He is okay with wearing flowers sometimes.


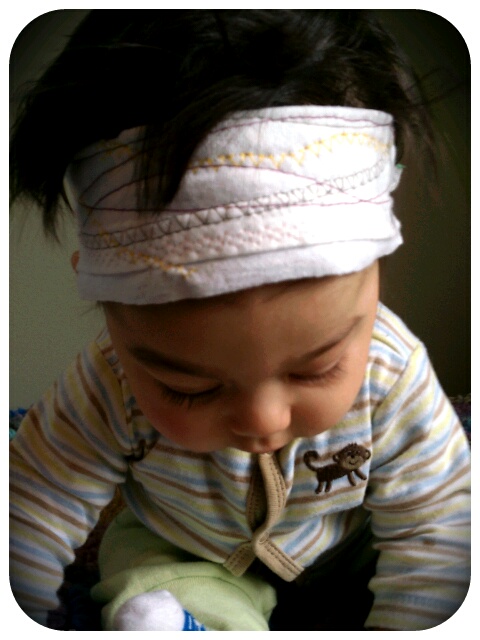
Another option would be to fold the band in half and sew across the hem. I added some decorative stitching and different thread colors to this hair band.

The bands can be adapted for adults too. Just use an extra large t-shirt or cut the band open and add elastic to make it larger.


Now, Mr. Noah can play without hair getting in his eyes. I would like to note that I only let him wear the hair band when I am around to supervise, since he could pull it down over his head. If you would like to add some Velcro on the band for a quick release, just cut the band open and sew the Velcro on both ends. Hope you enjoy this super simple, but adorable hair band.
Happy creating!

What embellishments did you add to you hair band?
Related Posts Plugin for WordPress, Blogger...