Showing posts with label apron. Show all posts

Tuesday, April 10, 2012

Tutorial Tuesday - Really, it's a pillowcase

What can you make with a pillowcase? The easiest apron ever.


materials: old pillow case, any color
material for pocket, and 2 ties
Press pillow case and then turn inside out.


Hold the pillow case up to you and decide where you would like the waist ties, then mark the spot. The bottom of the apron will be the open end of the pillowcase.
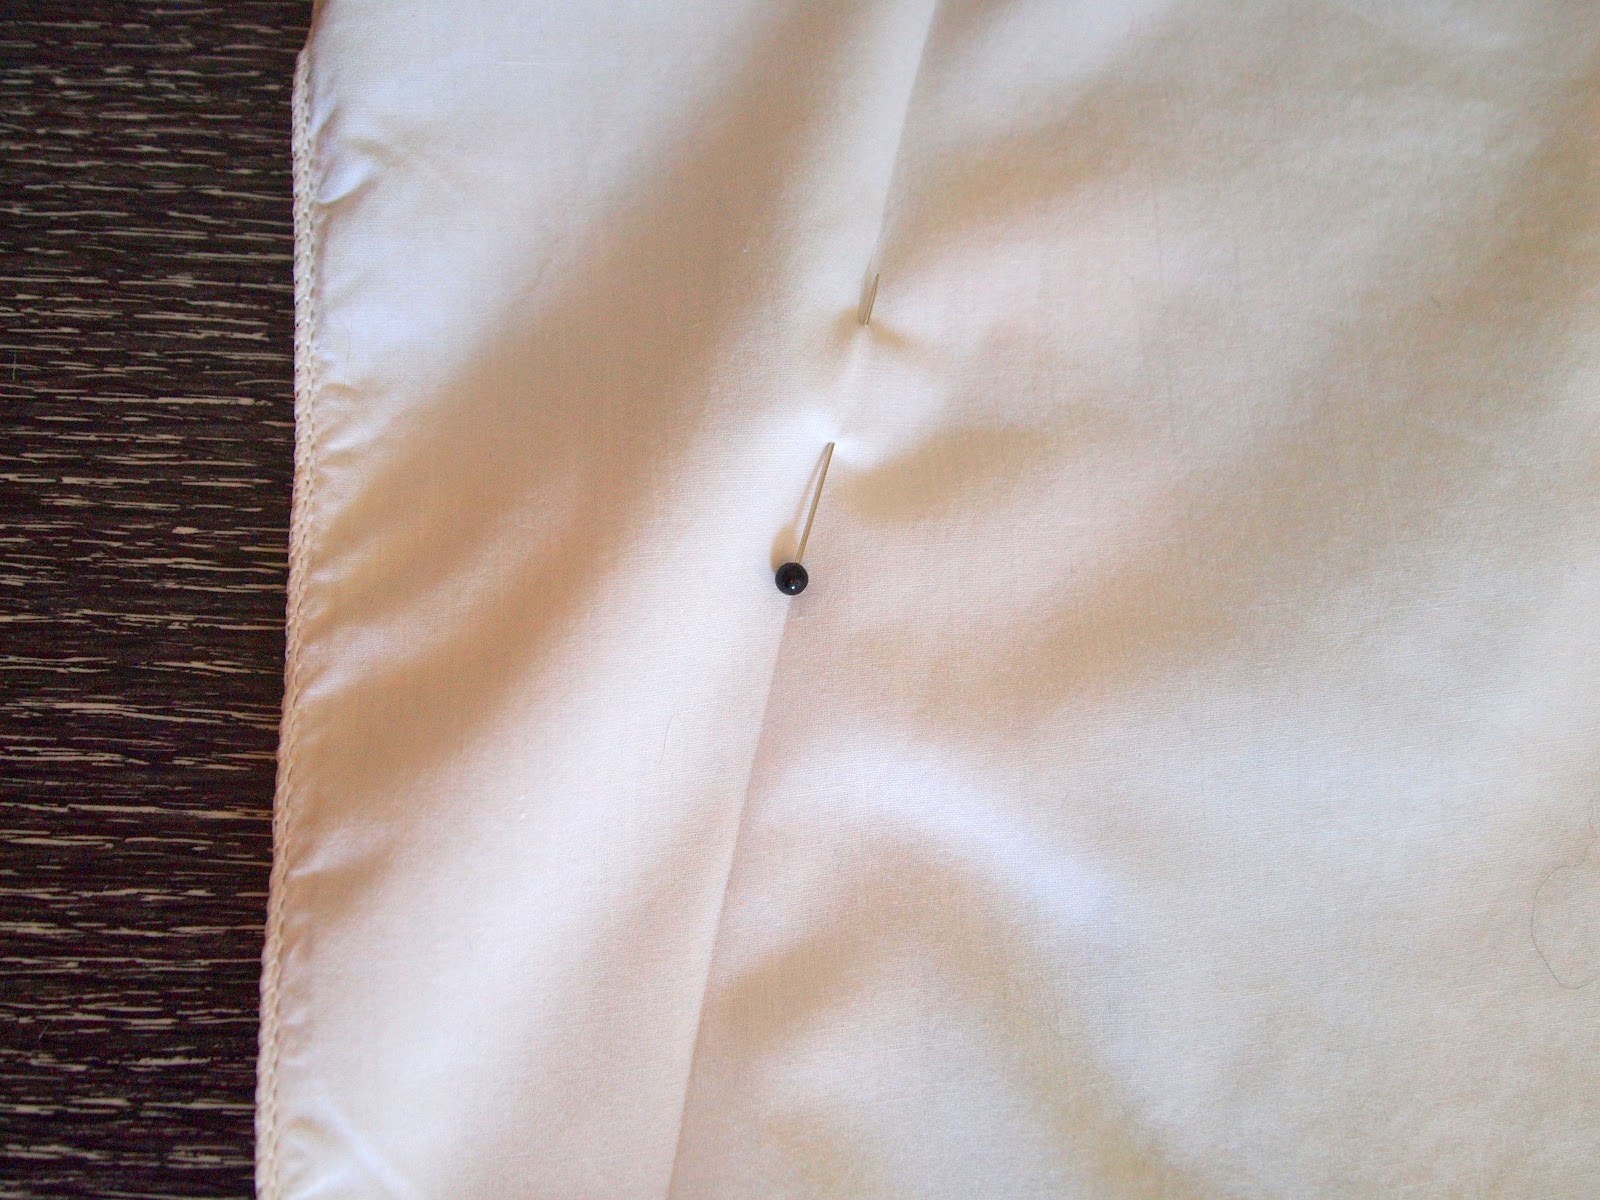


Fold over the edges above the tie placement marking. This will be the top of the apron.


Press the folds to create a crease. Top stitch across the crease. Cut off the excess material and turn pillow case right side out.


Cut out 2 pocket pieces 8" x 9". Pin right sides together, stitch together top, sides and bottom, leaving a 3" gap. Pull through to right side facing. Step by step pocket tutorial.


Pin pocket on the top portion of apron. Stitch across the 2 sides and bottom of pocket, leaving the top of the pocket open. **Note** Have fun with pocket placement and size, or make multiple small pockets. You are the designer.


Cut out a neck tie measuring 2" x 50".  Fold the edges over and press. Apron Tie tutorial
Find center of tie then attach to the top of the apron. Stitch with a zigzag stitch or another decorative stitch across the top of the apron. Continue stitching the edges of the tie with a top stitch.


Cut out a waist tie measuring 3" x 50". Fold over the edges and press just as you did with the neck tie. Top stitch across all edges of the waist tie then attached tie to the front of the apron.


 Pin tie to apron and the top stitch the tie onto the apron. That is it. Be creative and add the embellishments you would like.....ruffles, applique, buttons, etc. 


Tuesday, March 20, 2012

Tutorial Tuesday - The fundraiser apron

Theatre is a passion of mine, so when I was asked to help a local theater with a fundraiser, I was game. The tutorial for today is for the apron that I am donating to The Sunset Player's silent auction. I used left over fabric from some other projects, but you could use sheets, large button down shirts or piece together scraps for a patch work apron.

Measurements

 1 top panel   35" long  10" wide


Middle panel A   35" long 8" wide


Middle panel B  35" long 8" wide


1 ruffle 50" long 3"wide
2 pocket panel  9" long 9" wide (this material can be a combination of any of the fabrics or something totally different. I used left over fabric from the middle panels.)
2 ties 22" long 2" wide

First, measure and cut out your pieces.

Pocket


Pin pocket pieces right side facing.  Sew the 2 sides, bottom and top, leaving a 2 inch
opening on bottom.


Clip all 4 corners of the pocket at a diagonal. This will reduce the amount of material on the inside corners of the pocket once it is right side out.


Pull pocket through opening. And yes, that is a little baby arm in the background. He always tries to help.


Press pocket and top stitch around the outside. Set pocket aside.

Middle and Top Panels


Pin middle panel A to the top panel. Stitch panels together.


Pin and stitch middle panel B to the other side of the top panel.


Once A and B are sewn to the top panel is will be one large piece, as shown above.


Open the seams and press. This makes the seams flat. Sometimes, I am lazy and skip this step, but I always regret it.


Pin pocket to front of panel A either on the side or middle of apron. I placed the pocket on the side, but centering it in the middle works too. Stitch the pockets bottom and 2 sides on the panel with a straight stitch, leaving the top of the pocket open.


Ruffle


Fold the ruffle material in half and press lightly. Fold over both ends about a 1/2 inch and press. Top stitch the ends of the ruffle.


Pin the ruffle to the bottom of panel A facing upwards. Pleating the panel every 2-3 inches.  Stitch ruffle to panel A using a zigzag stitch.


This is what your apron looks like so far.


Now, fold your apron in half with right sides facing and ruffle facing inward, just like when you pinned the ruffle on the panel. Pin and straight stitch the panels together across the bottom just above the zigzag stitch.


Pin the sides of the apron leaving a 4 inch opening on the top panel on both sides. You will use the opening to pull the apron right side out and to attach the ties. Pull apron through one of the openings, so it is right side facing, and set aside.


Ties


Press the top, bottom, and ends of the tie with a fold over of about 1/2 inch. Clip the edges of the end fold at an angle to reduce material bulging. 


Top stitch across the top, bottom and sides of the tie. 


Insert one end of the tie in the top of the opening on the apron. Repeat this on the other opening on the opposite side.


Top stitch downward to the ruffle on both sides.
That's it. You made an apron!


If you want this apron, it will be available at The Sunset Player's  Spring Fling silent auction in Cincinnati on March 31st.


I'd love to feature your apron on my blog, so send me pictures at purdyeveryday@gmail.com.

What's up for next week? I will just say that you will be in knots over it!


Friday, January 27, 2012

Even kids like aprons

Our most recent custom order was for a children's birthday party. The theme of the party was baking, so we were asked to make aprons for each of the kids. The aprons turned out adorable and the kids look like they had a lot of fun at the party.
Related Posts Plugin for WordPress, Blogger...