T-shirt material is a pretty amazing material. It is soft, stretchy, and looks good with raw edges. I think that is why it works well for re-purposing. Here is my take on the t-shirt blanket.
Materials: lots of old t-shirts
Cut off the bottom and side seams of t-shirt (some t-shirts don't have a seam on the side), then cut across the top. You will have a square of material. The material pieces will be different sizes depending on the size of the shirt.
Repeat this process until you have enough square/rectangles to make a blanket about 4'x5' or what ever size you would like.
Start by pinning together a couple of pieces in a row measuring about 4' long. Sew together. Do not worry if the pieces are different sizes, we will fix that later. I ended up with about 5 long rows of material.
Lay each row flat and cut off any excess material, so the rows will be the same width. Do this on each of the rows.
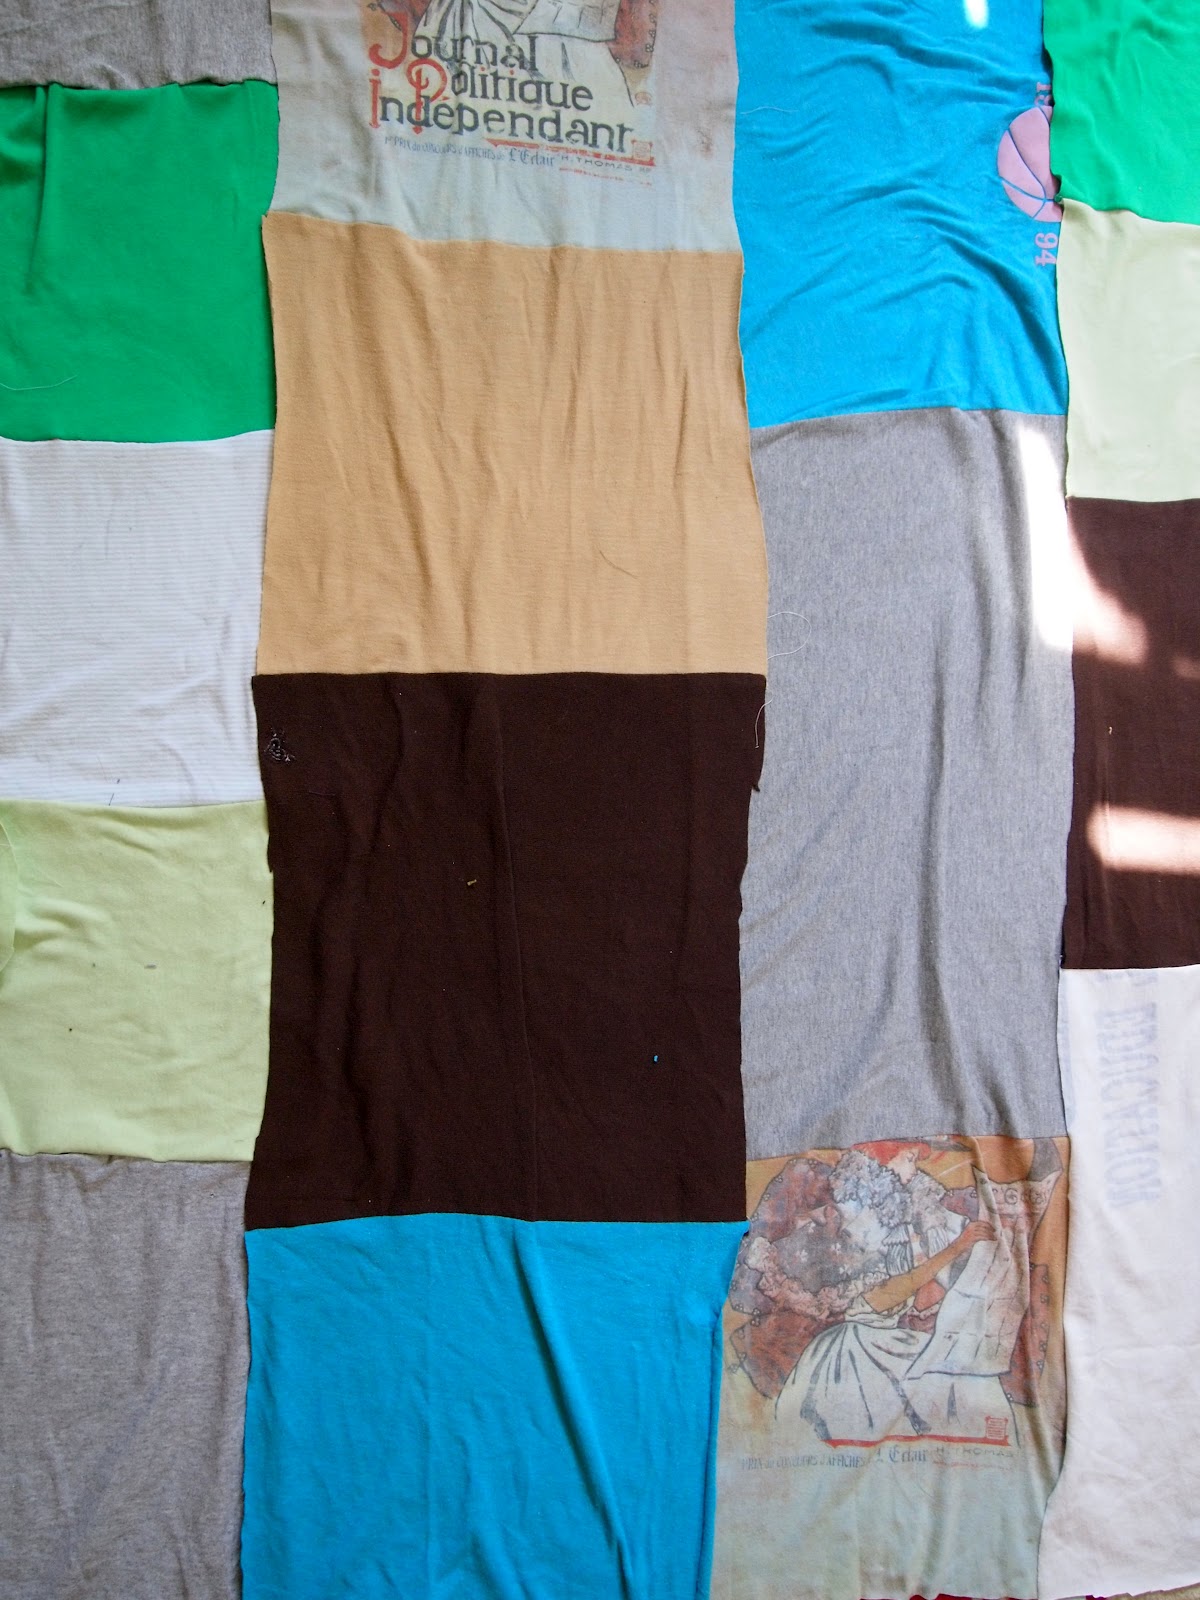
This is what it looks like after cutting off the excess material. They should be just long strips of material.
I had a couple of rows that were wider than I liked, so I cut them in half to create some smaller rows. That is why there are seven rows in this picture.
Piece the rows together by over lapping the material and pinning. Sew them together. Now you have a blanket.
I have trouble getting rid of things, especially clothing. My thinking is that I may want to wear it someday even if I have never worn it before. I liked the color of this t-shirt, but the neck line was always too tight. So I decided to rework it into a v neck tank top.
Fold t-shirt in half longways. Then cut make a "v" shaped cut along the neck.
Cut the sleeves off following the seam.
Cut the sleeves open and cut off the seams.
Pin the finished end of the sleeve on the edge of the neckline. Pin the other sleeve about an 1" under the first sleeve. Stitch the ends only.
Leave the arm and neck seams unfinished. This will allow the t-shirt to curl up a little for a natural finish.
It is unseasonably warm in my neck of the woods. Nevertheless, somewhere, someone could us a baby cap.
I thought that a tie dyed cap would be cute. If you are going to tie dye the t-shirt, go ahead and do that first. Last week, I posted the tutorial on how to tie dye.
Cut the sleeve of a t-shirt off.
Turn sleeve inside out and cut the seam edge off, so that the t-shirt is a square shape. Before cutting the edge make sure sleeve fits on babies head. If it needs to be smaller, then mark it, and make your cut further over.
Stitch the cut edge. Set aside.
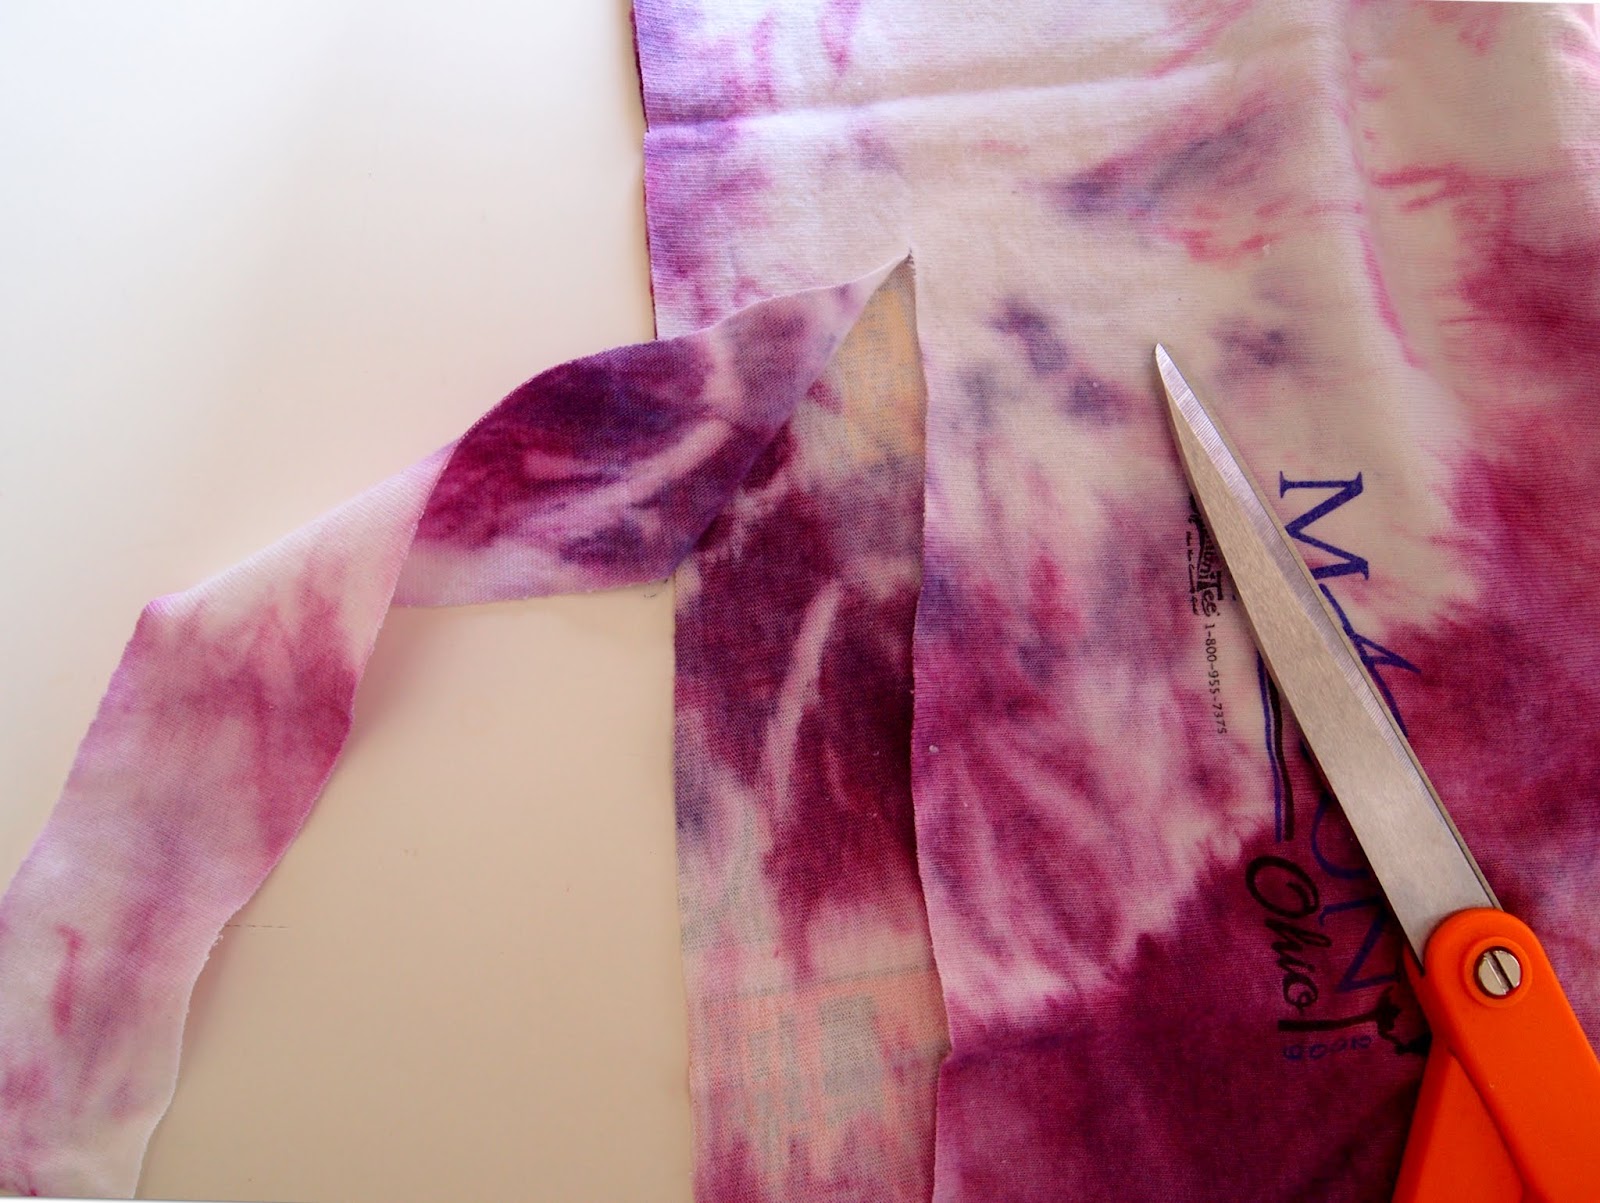
Cut a strip of t-shirt about 1/4" wide and 12" long. Stretch the strip so the edges will coil together.
Okay, this is the best part....a video! I made a video on how to tie a Monkey's fist knot. I think I spent about a week obsessed with decorative knots. So, I will include many more knots in the future.
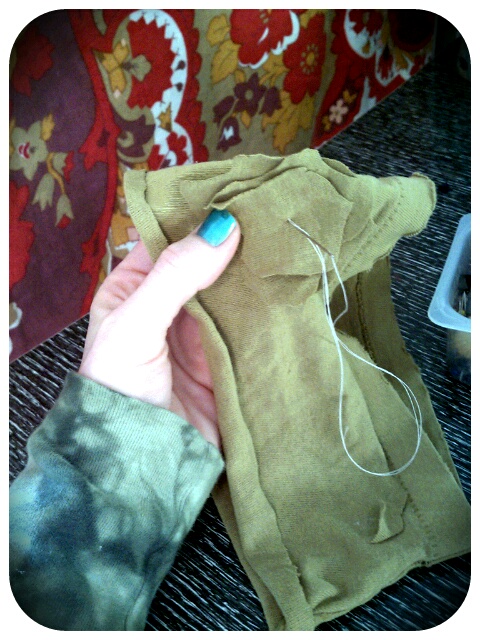
With material still inside out, place the free end of the knot inside the center of the material. You can adjust the knot to the length that you would like. The pin indicates where the free end of the knot should be placed. Stitch the knot to the center of the material. Only stitch about 1/4" long over the free end of the knot, leaving the rest of the top open.
Gather the opposite edges into the center and pin.
Pinning in the center created four pleats. Pin each pleat separately.
Now, sew each pleat closed, rounding the stitch to fit the head. You will have to sew four edges.
Clip off the excess seams and turn right side out.
Va la! Cute and simple.
This hat could be adapted for an adult by adjusting the size of the t-shirt that you use.
If you have a suggestion for future tutorials let me know. Happy creating.
I have a baby with crazy hair. I am constantly pushing the hair out of his face. I am not ready to cut his hair, so the solution is a hair band.
Cut the sleeve of a small t-shirt off at desired thickness. You can adjust the size of the band after cutting. I wanted the hair band to be rugged, so I did not hem the edges, but that is an option. I used a t-shirt that was very worn. In some of the pictures you can see the jagged edges.
Try the band on the babies head and see if it fits. If you need to make it smaller just use you fingers to pinch the amount that needs to be hemmed, pin it, and then stitch across the band.
Add embellishments of your choice, but do not add anything that the baby could choke on. I cut out some t-shirt flower petals and sewed them on the side. My little one is a boy, so maybe I should have cut out some fire trucks for his hair band. Maybe next time.
Hand stitch the flowers on the band.
Noah says, "This is the way dude's with long hair wear their hair bands."
He is okay with wearing flowers sometimes.
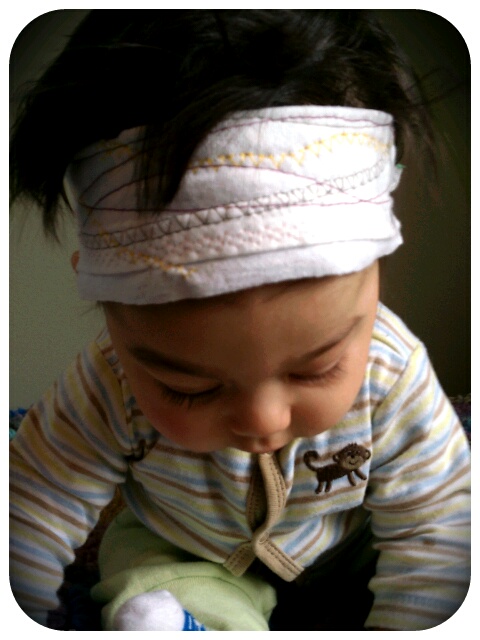
Another option would be to fold the band in half and sew across the hem. I added some decorative stitching and different thread colors to this hair band.
The bands can be adapted for adults too. Just use an extra large t-shirt or cut the band open and add elastic to make it larger.
Now, Mr. Noah can play without hair getting in his eyes. I would like to note that I only let him wear the hair band when I am around to supervise, since he could pull it down over his head. If you would like to add some Velcro on the band for a quick release, just cut the band open and sew the Velcro on both ends. Hope you enjoy this super simple, but adorable hair band.
Why Purdy Everyday? Okay, it really stands for "pretty unique recycled designs everyday". The short answer is that we like Purdy things. Our mission is to create unique re-purposed items for our local friends and provide cool DIY projects for our fans. We sell our wears at Market Side Mercantile in Northside, Ohio, and various crafting events in Cincinnati. We are fabulous at creating custom bags, purses, aprons, scarves...The list is endless. We love to hear from our fans, so leave us a comment or drop us a line at purdyeveryday@gmail.com

 Fall is just around the corner and that means T-shirt scarves are in production.


 T-shirt material is a pretty amazing material. It is soft, stretchy, and looks good with raw edges. I think that is why it works well for re-purposing. Here is my take on the t-shirt blanket.




 I have trouble getting rid of things, especially clothing. My thinking is that I may want to wear it someday even if I have never worn it before. I liked the color of this t-shirt, but the neck line was always too tight. So I decided to rework it into a v neck tank top.


 It is unseasonably warm in my neck of the woods. Nevertheless, somewhere, someone could us a baby cap.