
 A couple of months ago, I bought some cork pieces and mounted them on the wall. I used the double sided tape that came with the cork pieces, bad idea. All of the cork fell off of the wall within the first week.
This is what my wall looked like after the cork fell. Now, I have to peel all the tape off the wall. Not a fun job. I decided today that I was going to do something with the cork. So today's tutorial will be a cork board re-purpose.
Materials: Cork squares (available a craft stores or just use the ones that fall off of your wall.)
wooden frame (I found this frame in pieces in my basement)
spray paint
shelf liner (Another basement find. The liner is from large metal storing shelves.)

Tools: glue gun
hobby knife
newspaper
The frame was in pieces, so I had to put it back together with some glue.

I just added glue in the creases, as shown below.

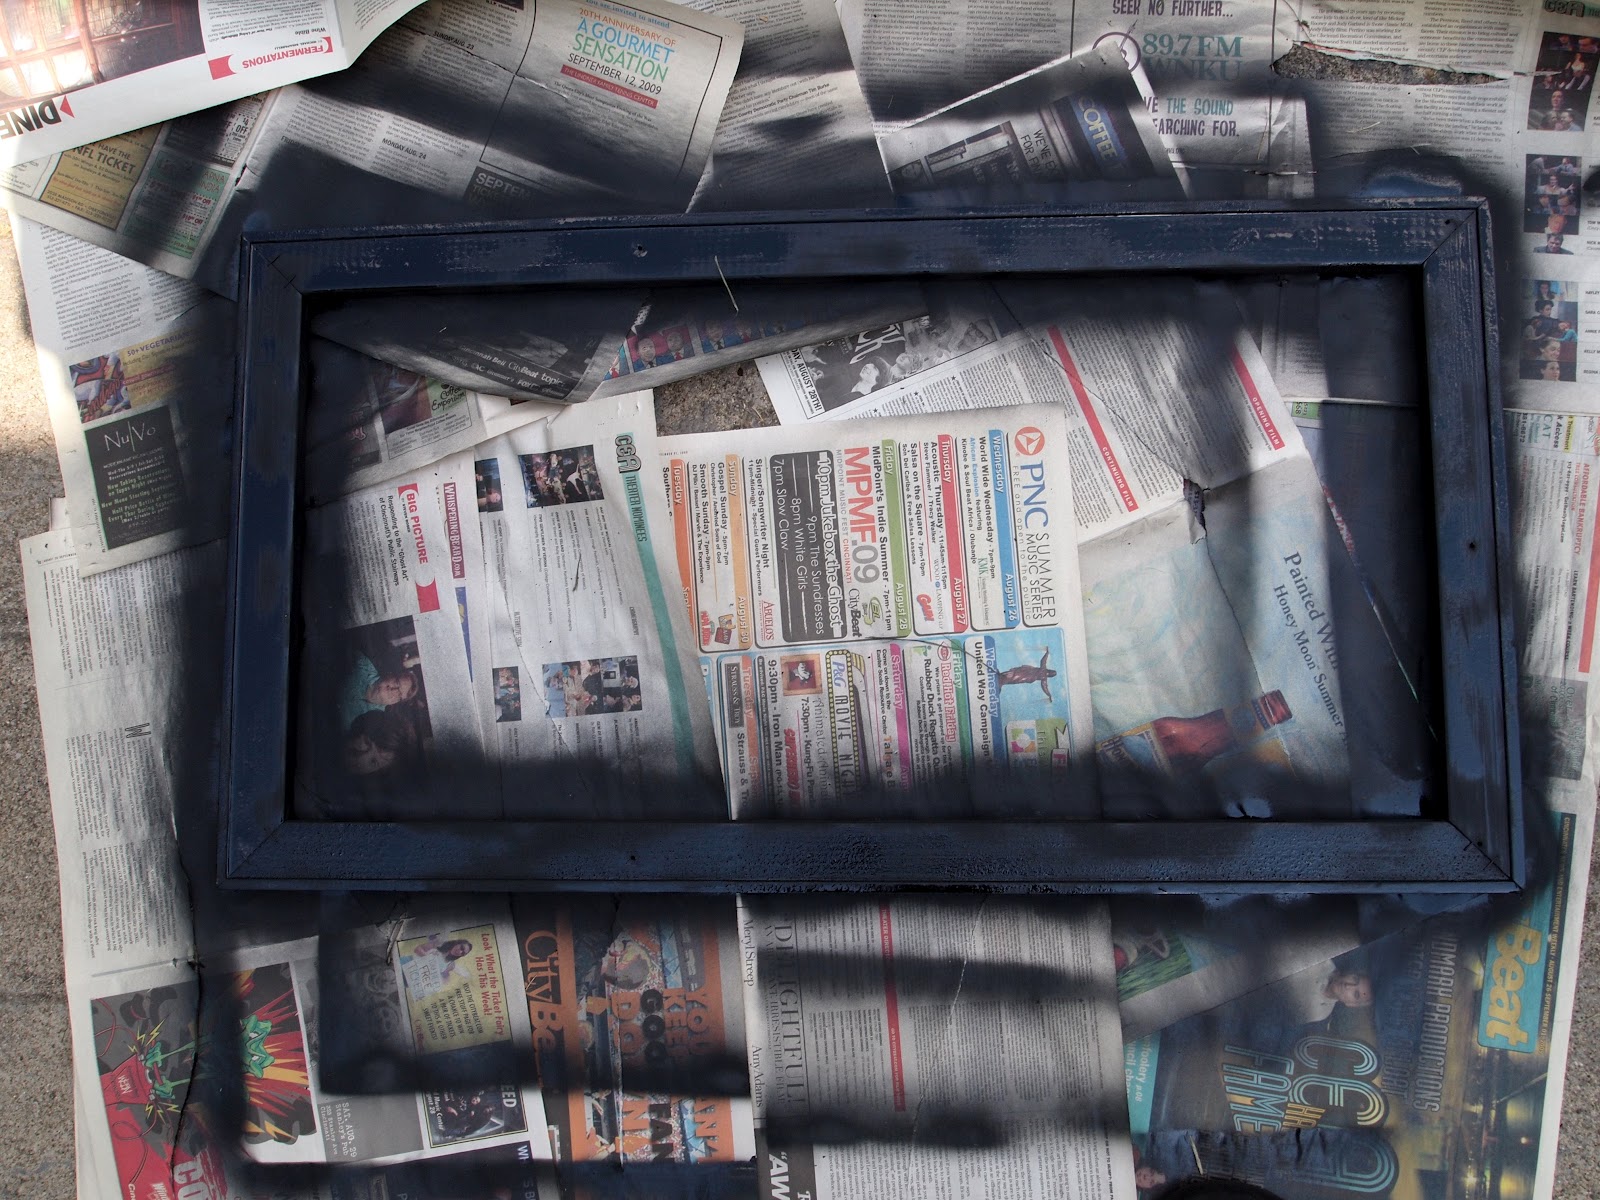
Then I spray painted the frame. I let the frame dry for awhile in the sun while I hunted for something to mount the cork on.

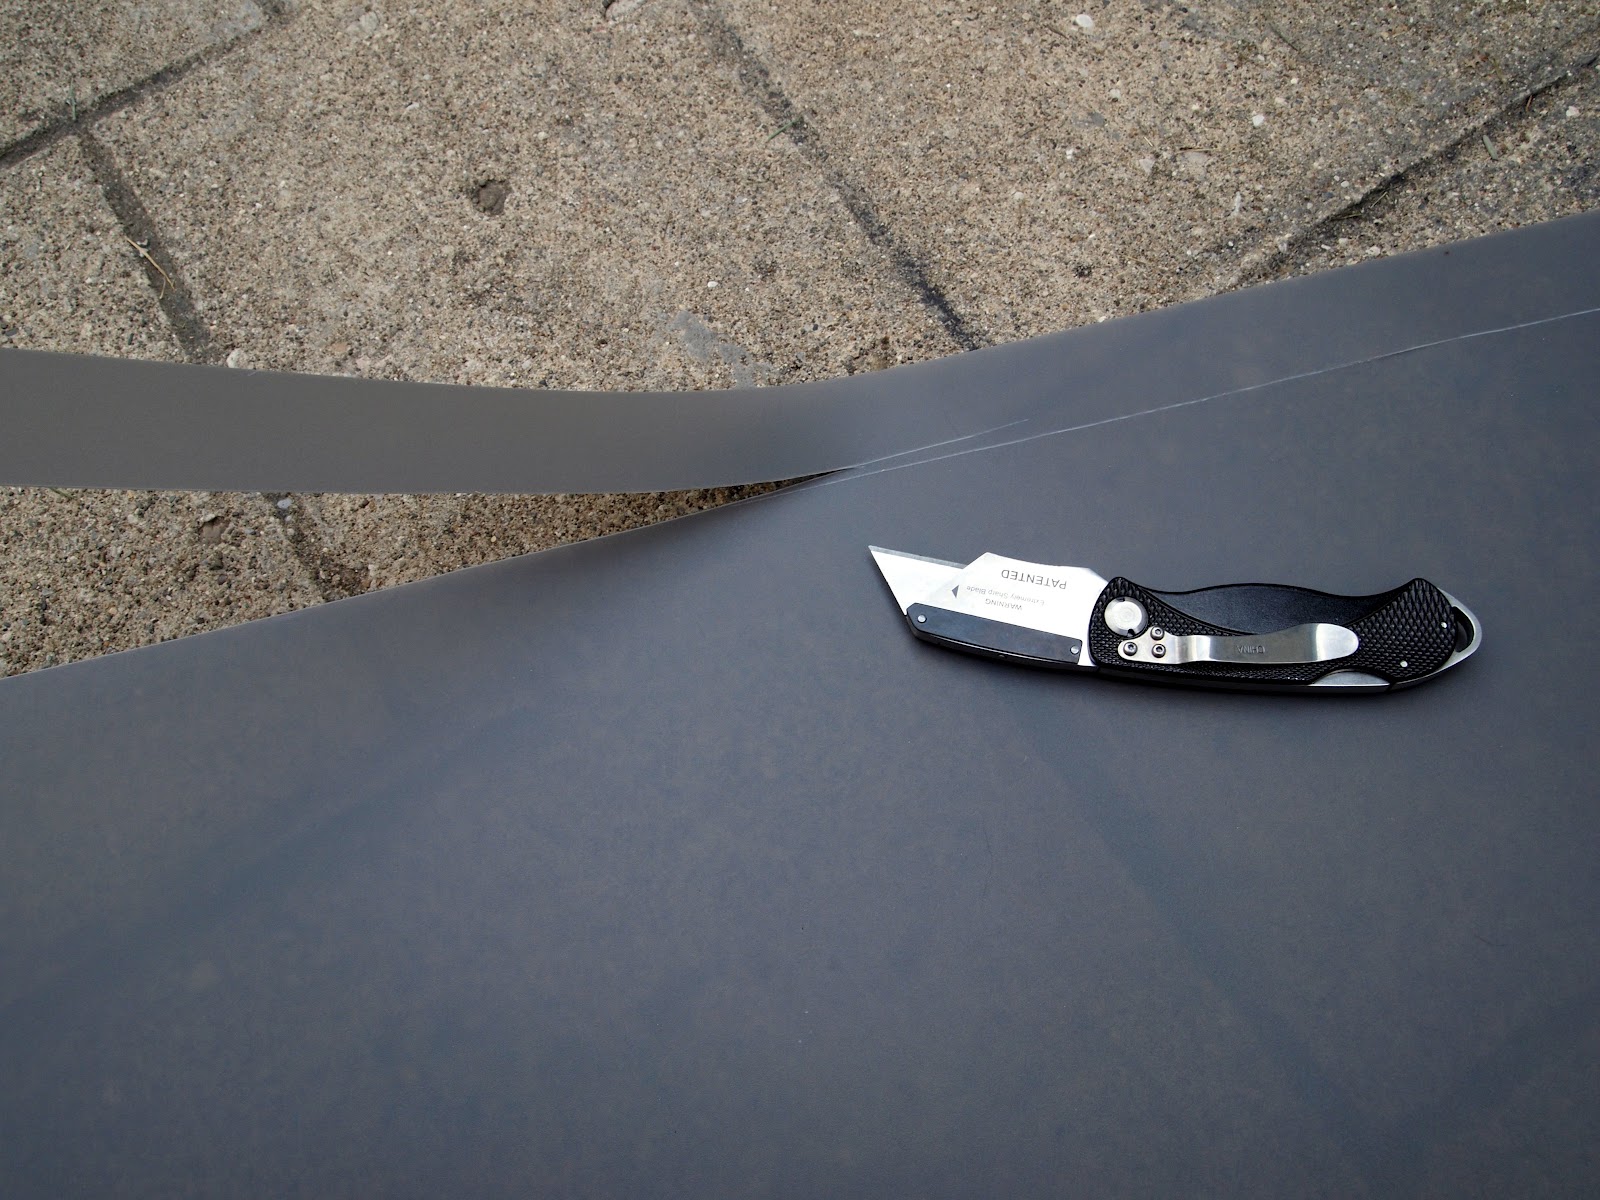
I measured the liner to fit the wooden frame, then cut off the excess plastic with a hobby knife.


I applied glue down the sides, top and bottom of the plastic and then pressed it onto the back of the frame.

After the backing was secure, I added glue on the back side of the cork. I placed the cork directly onto the plastic.

I could fit two pieces of cork inside the frame with a little of the plastic showing on the sides.

The fun thing about this project was that I got to go shopping in my own basement. I found things that were just sitting there collecting dust and found a new purpose for them. So take my guidelines, and create your own unique cork board!

Now the hard part, mounting it on the wall.
No comments:
Post a Comment